Single Sign-On
This article talks about setting up OIDC in the iceDQ application. Users can integrate iceDQ with third-party identity providers (IdP) like Okta, Azure AD, AWS SSO, and others using the OIDC protocol. On enabling this feature, users will be directed to the IdP's sign-in page to enter their SSO credentials, already stored in the IdP.
Steps to configure OIDC in iceDQ
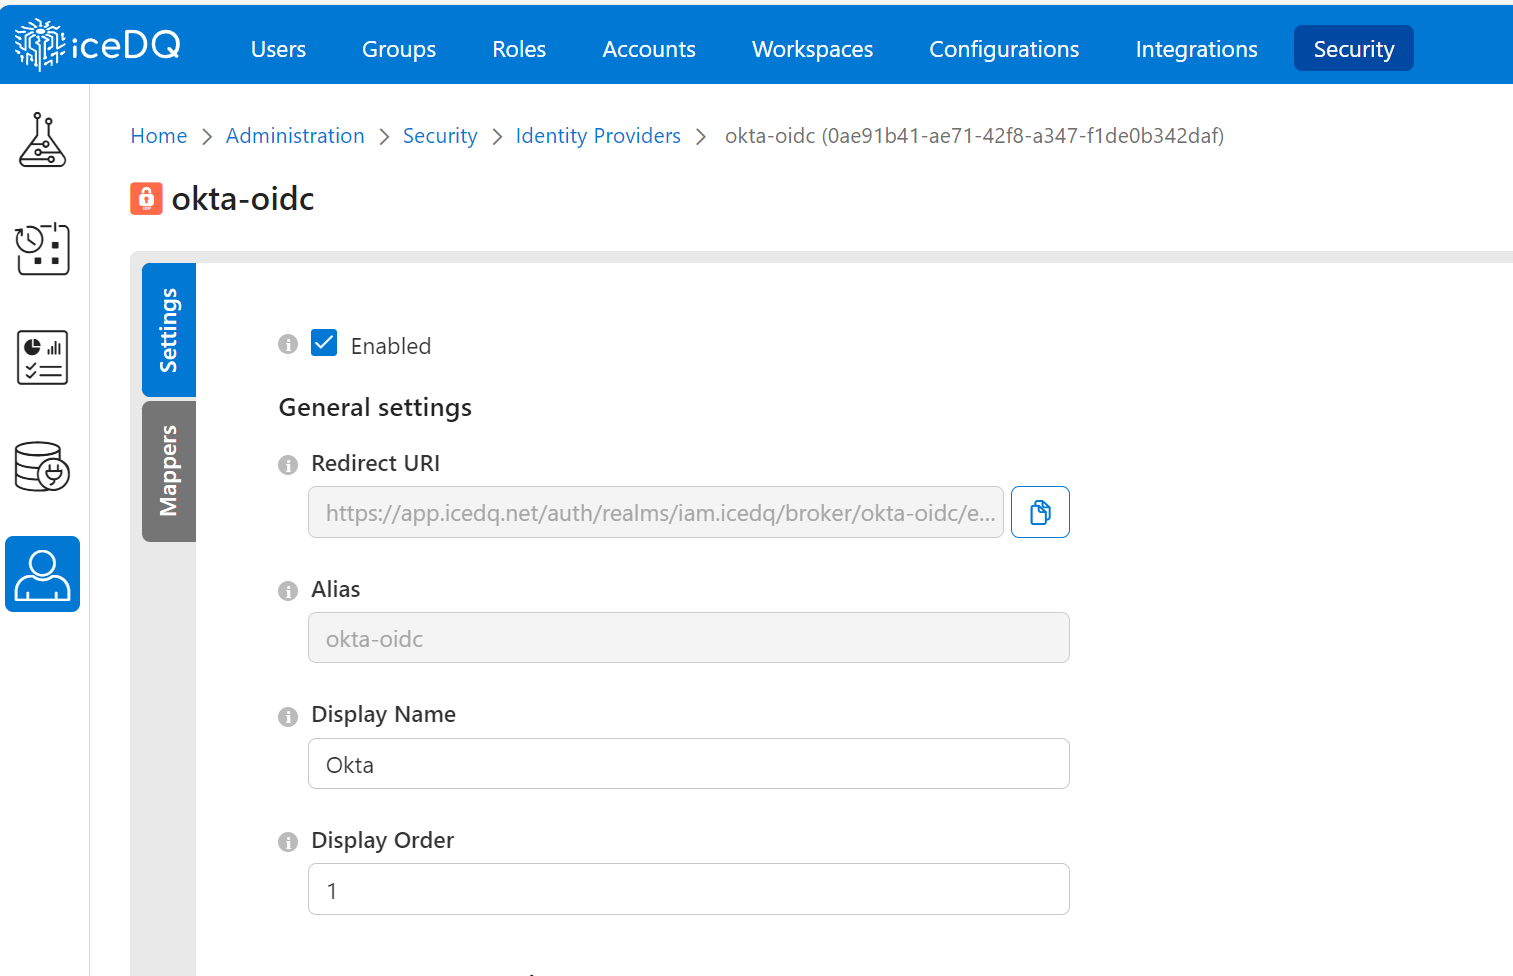
- Click New Identity Provider to add a new OIDC provider.
- Use alias as oidc or any other valid OIDC name.
- Enter Display Name (this field will be visible on the login screen to inform the user to use SSO for login).
- Under OpenID Connect Setting, click on the check box to use the Discovery Endpoint that you will receive from the OIDC Administrator.
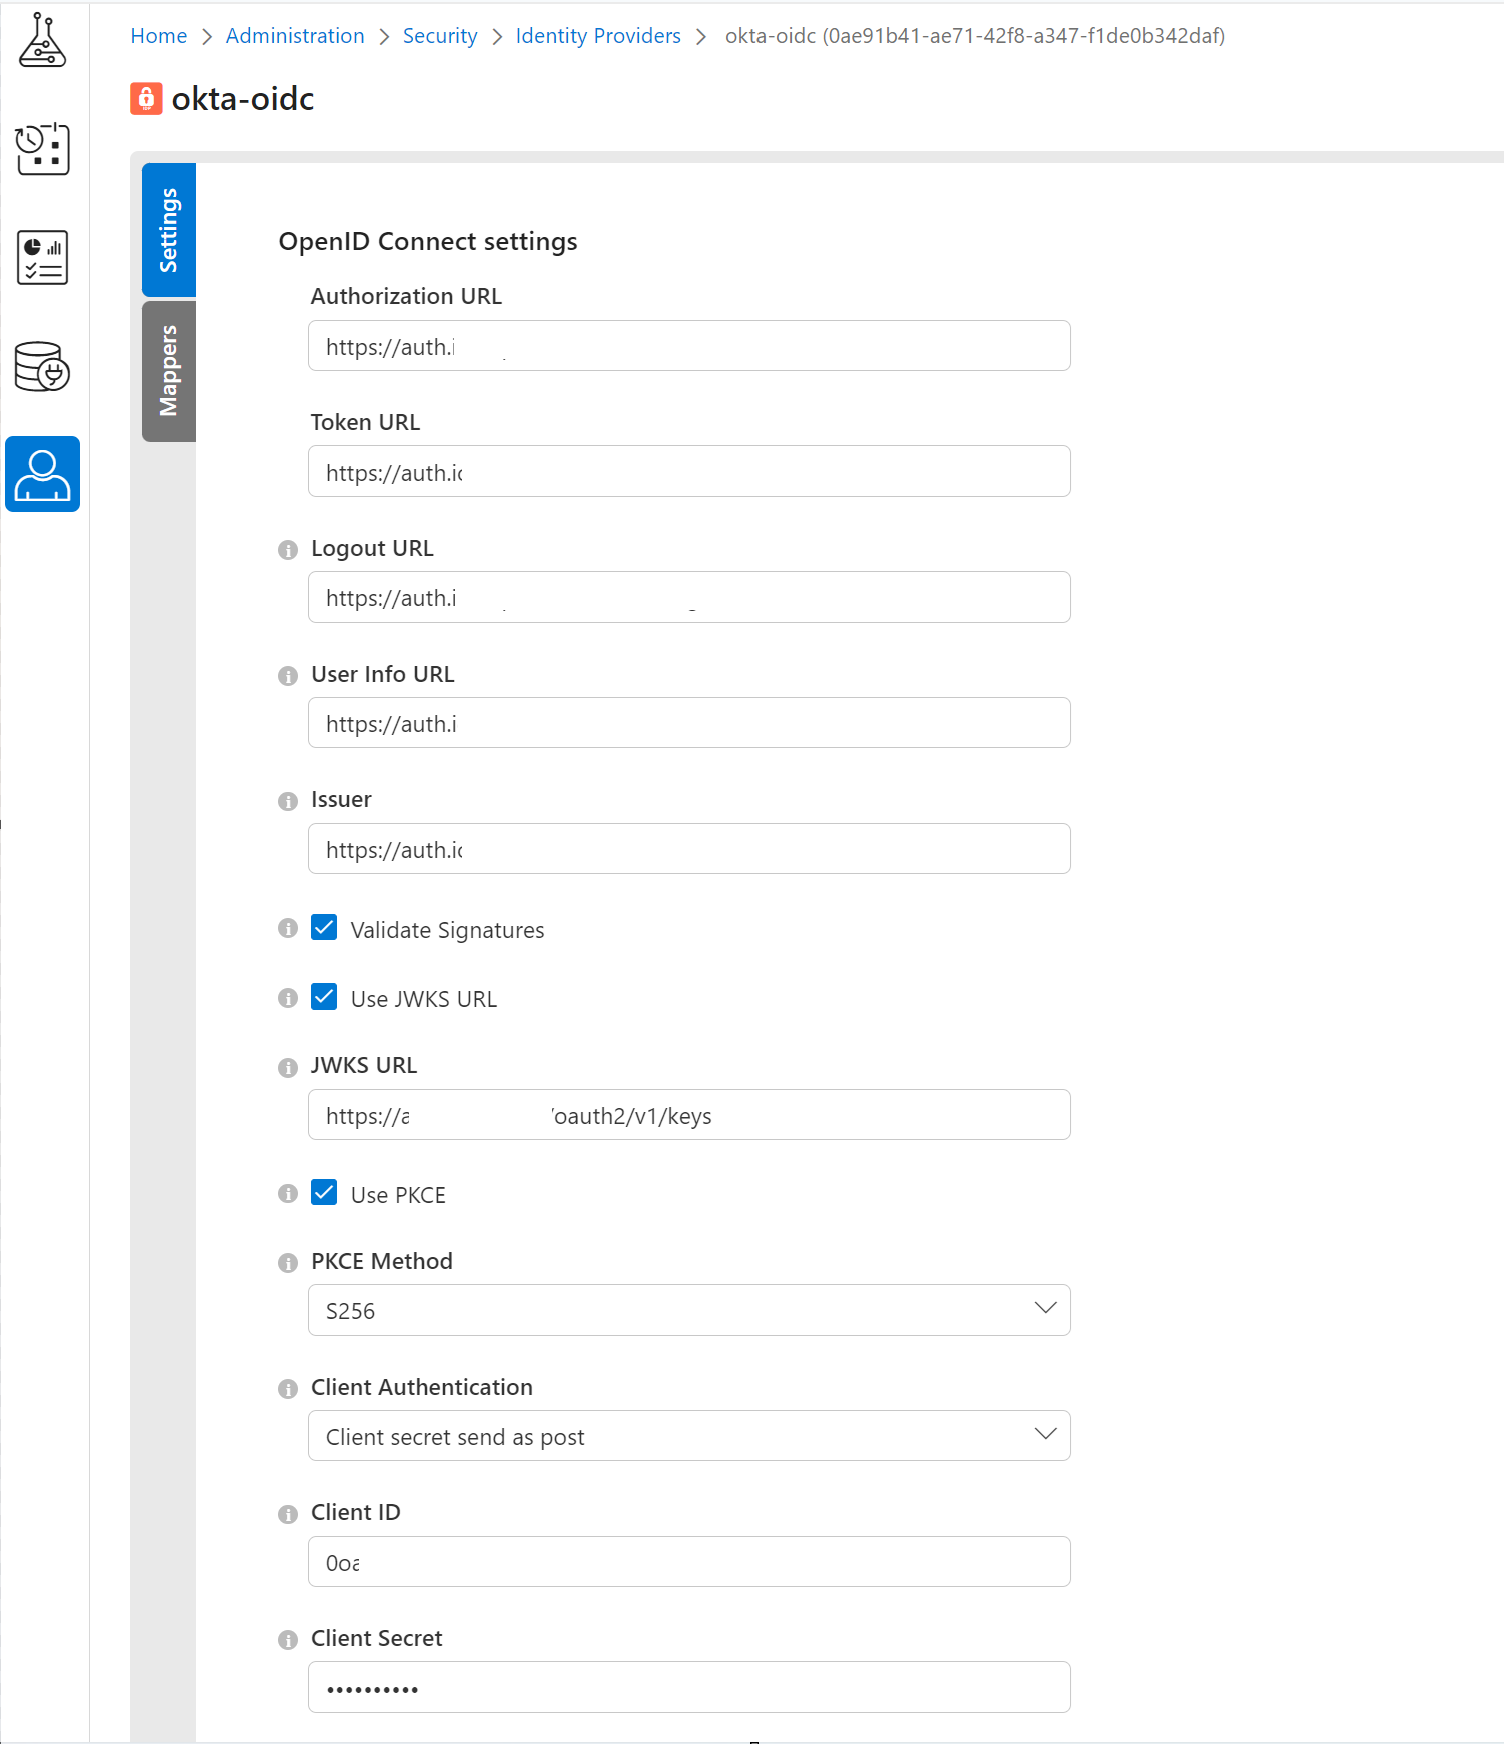
- Under Client Authentication, select Client secret send as post.
- Client ID (Please use the client ID that you received from the OIDC Administrator.)
- Client Secret (Please use the client secret that you received from the OIDC Administrator.)
- Save the configuration and check the login screen with the SSO button.
Steps to configure OIDC App in OKTA
To set up Okta in iceDQ nextGen, please follow the below process.
Create OIDC App in Okta
Create an app integration that represents the application you want to add authentication to with Okta:
- Go to Applications > Applications in the Admin Console.
- Click Create App Integration.
- Select OIDC—OpenID Connect as the sign-in method.
- Select Web Application as the application type, and then click Next.
On the Web Application Integration page:
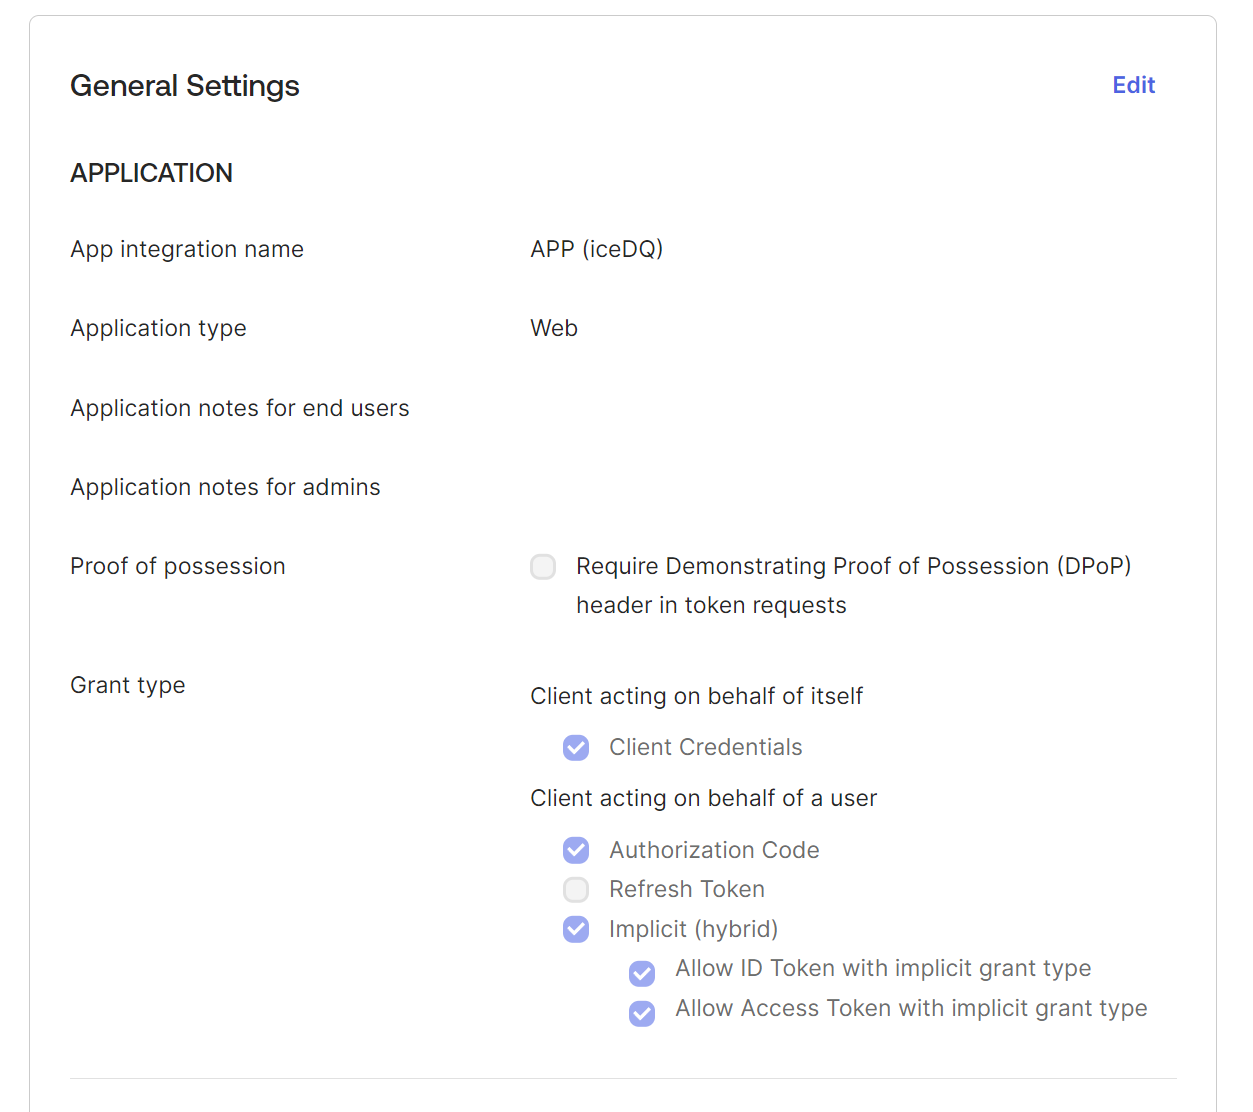
- Change the app integration name.
- Do not select Require Demonstration of Proof-of-Possession (DPoP).
- Select Grant Type as Client Credentials Client acting on behalf of a user—select Authorization Code and Implicit (hybrid).
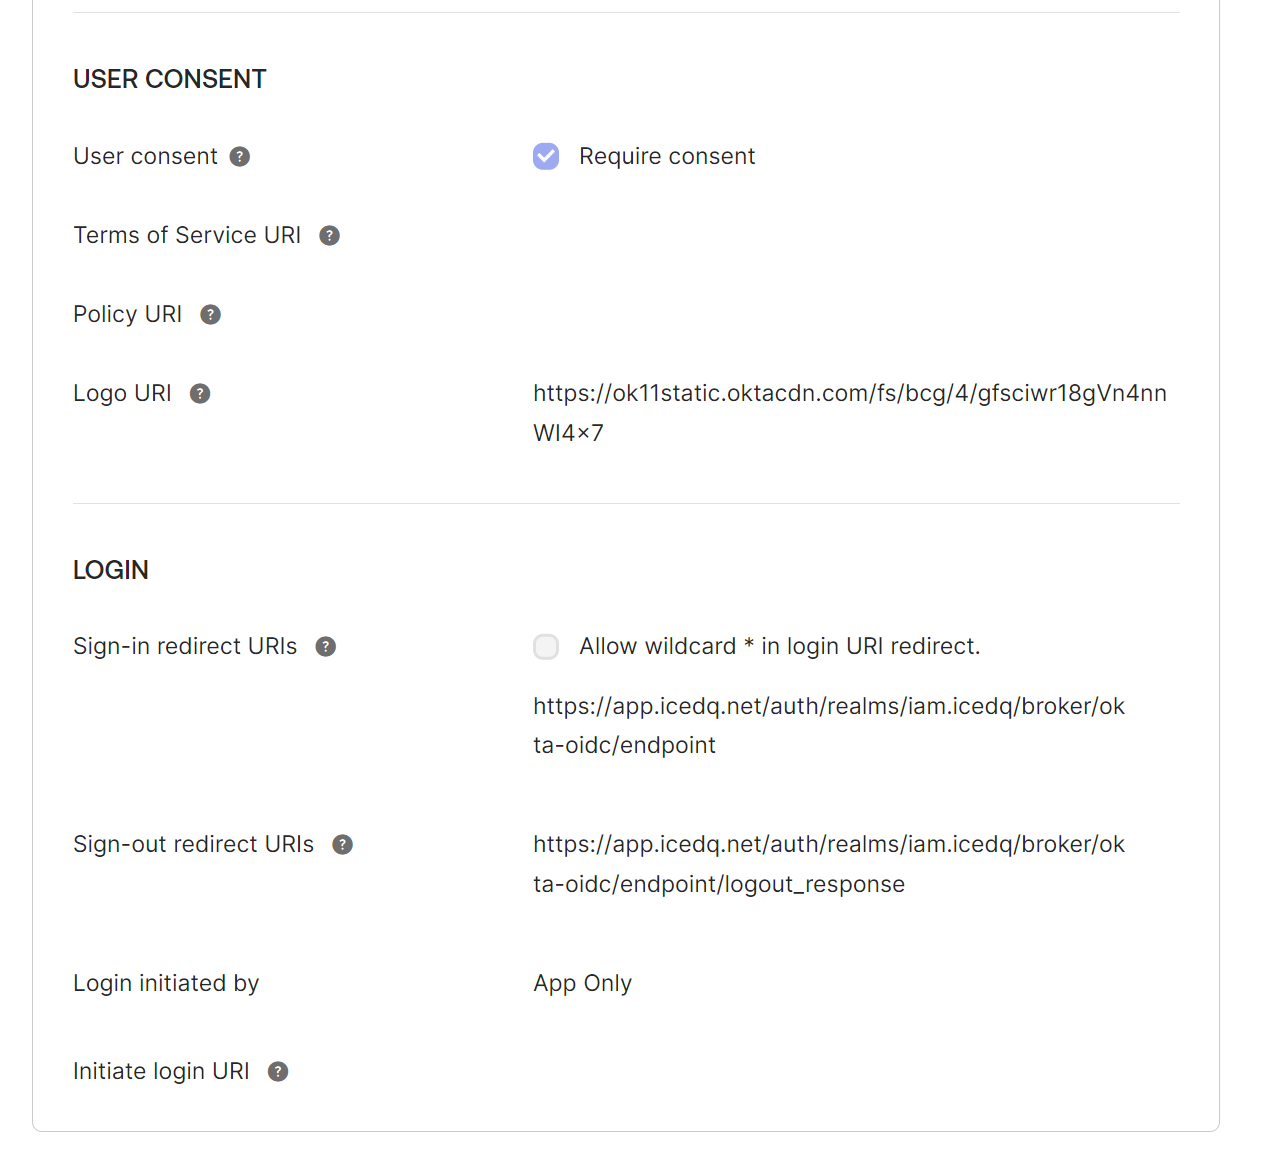
- Sign-in redirect URIs (get the domain name from the requester along with the correct realm and alias; it's part of the redirect URI under General Settings).
https://DOMAIN-NAME/auth/realms/iam.icedq/broker/oidc/endpoint - Sign-out redirect URIs (get the domain name from the requester along with the correct realm and alias; it's part of the redirect URI under General Settings).
https://DOMAIN-NAME/auth/realms/iam.icedq/broker/oidc/endpoint/logout_response
Important
Be sure to use correct realms iam.icedq and alias oidc in example mentioned in step 4 and 5.
- Assignments Limit access to selected groups.
- Save the General Setting.
Create Client ID and Issuer
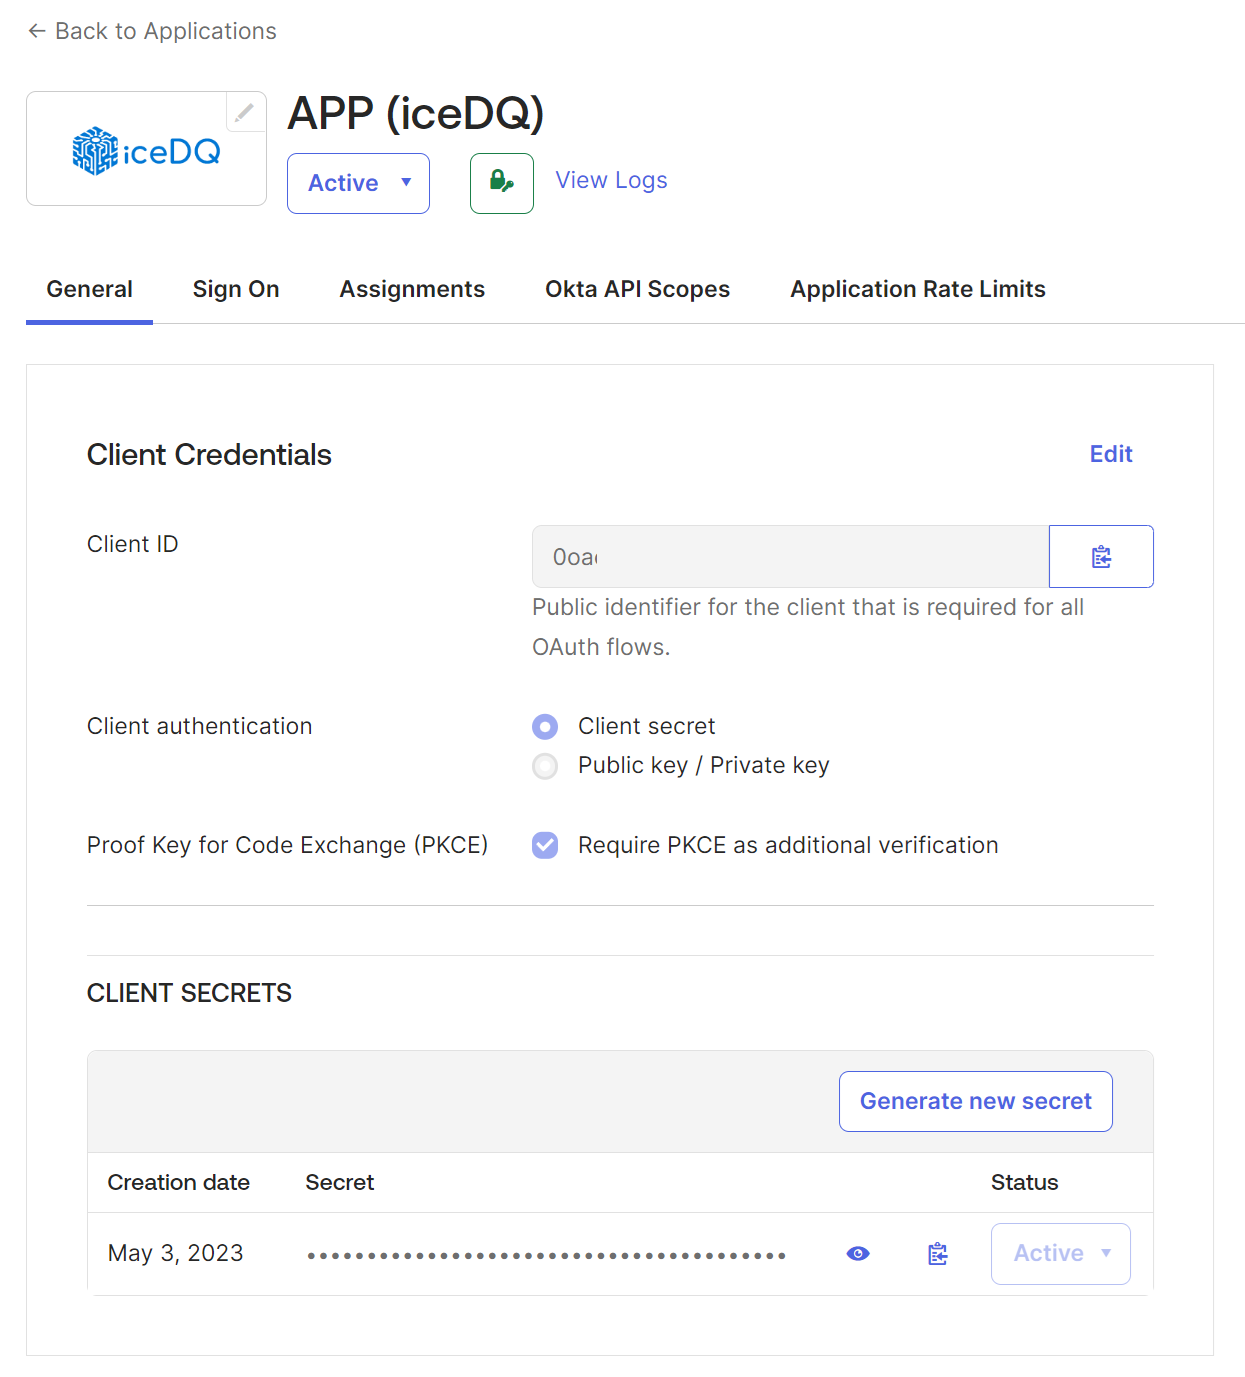
- Open the created app.
- Click General.
- Click and note the client ID and secret key to share with the requester.
- Click Sign On.
- Select and note the issuer from the drop-down.
- Click Save.
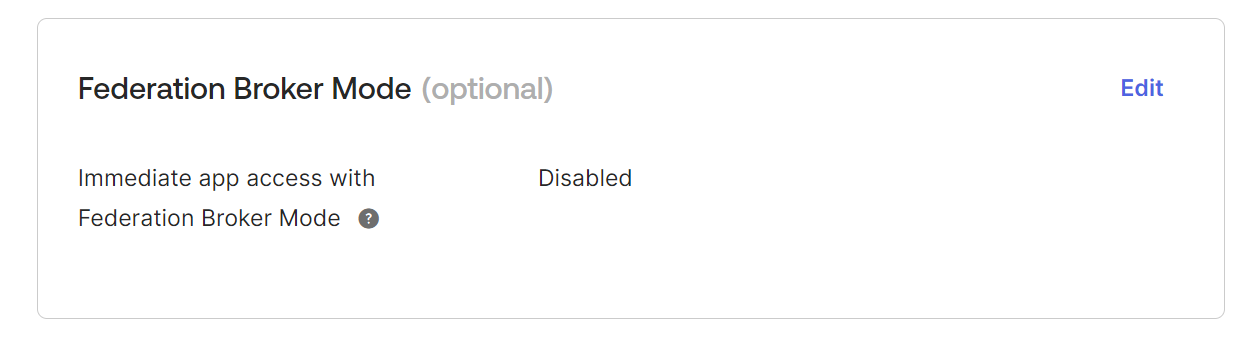
Please refer below to the Okta configurations in the OKTA app.
Generate Metadata URL
To form a metadata URL
- Log in to Okta.
- Click the account information.
- Click the Copy to Clipboard icon next to the issuer domain name as shown below.
- Copy the issuer domain name as shown below.
- Replace 'yourOktaDomain' in URL
https://yourOktaDomain/.well-known/openid-configurationwith the issuer domain name copied in the previous step. For more information, refer to https://developer.okta.com/docs/reference/api/oidc/#well-known-openid-configuration.