Sync License
Overview
iceDQ customers receive full platform access for a defined license period after purchase. When a license is renewed or extended beyond the initial term, the license end date is manually updated to reflect the new validity period.
However, users may still see a "license renewal required" message after this update. This occurs because the renewed license data is not automatically synchronized with iceDQ's internal validation system, which can lead to access disruptions despite a valid license.
To avoid these issues and ensure seamless access after renewal, perform a manual license synchronization. This guide outlines the steps to complete the synchronization process for uninterrupted platform functionality.
Prerequisites
License End Date
The license end date must accurately reflect the current subscription term. It must be manually extended by the iceDQ Customer Success Management (CSM) team.
License Sync Methods
1: KOTS Online Activation
Use this method when the application is installed via KOTS (Kubernetes Off-The-Shelf) and outbound access to iceDQ APIs and endpoints is permitted in the customer's environment.
The customer's environment must allow outbound internet access to reach iceDQ's licensing services.
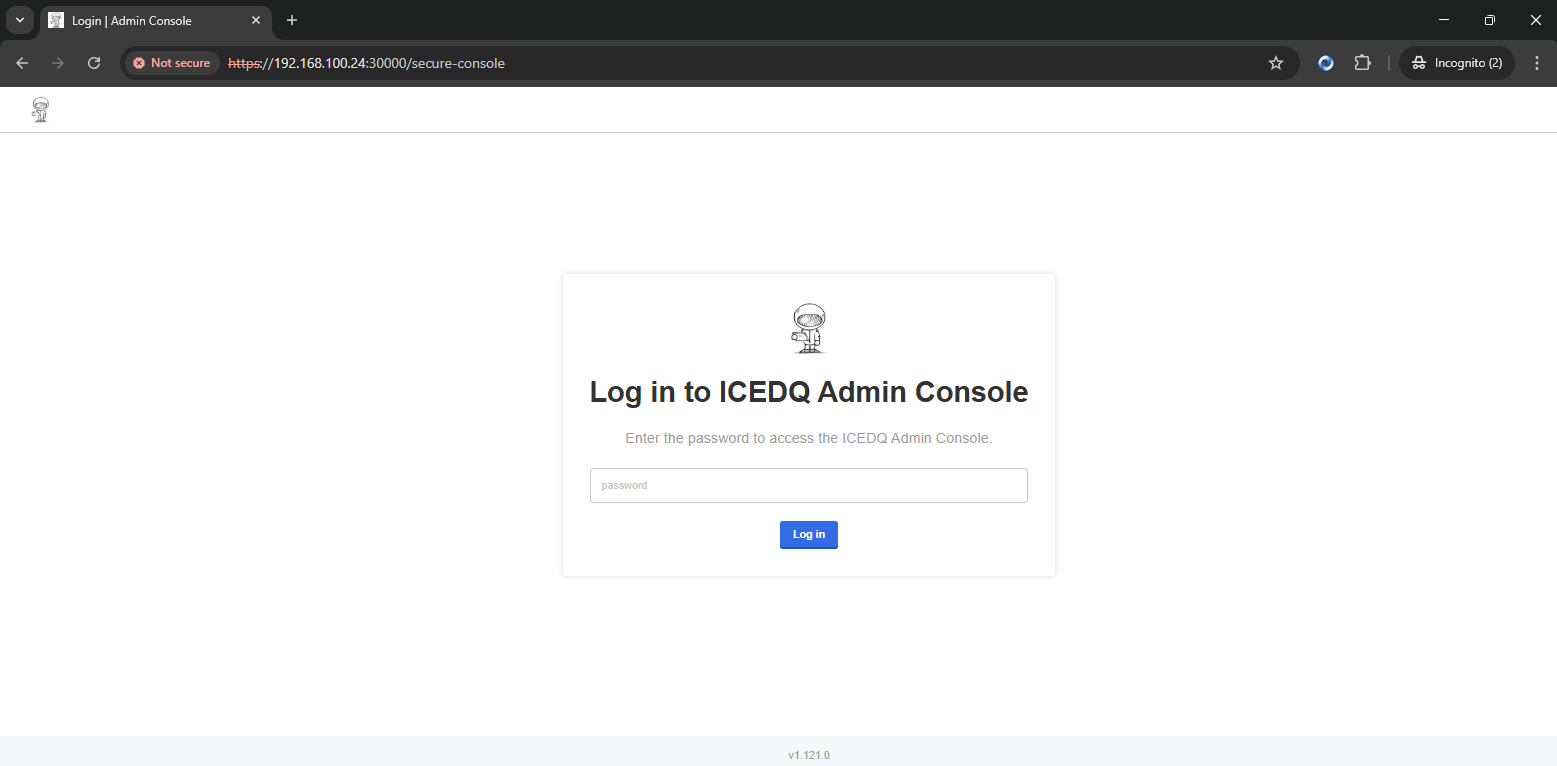
1. Access the iceDQ Admin Console: Open the iceDQ Admin Console and log in with appropriate credentials.
2. Navigate to License Sync: Go to Application > License from the console navigation menu.
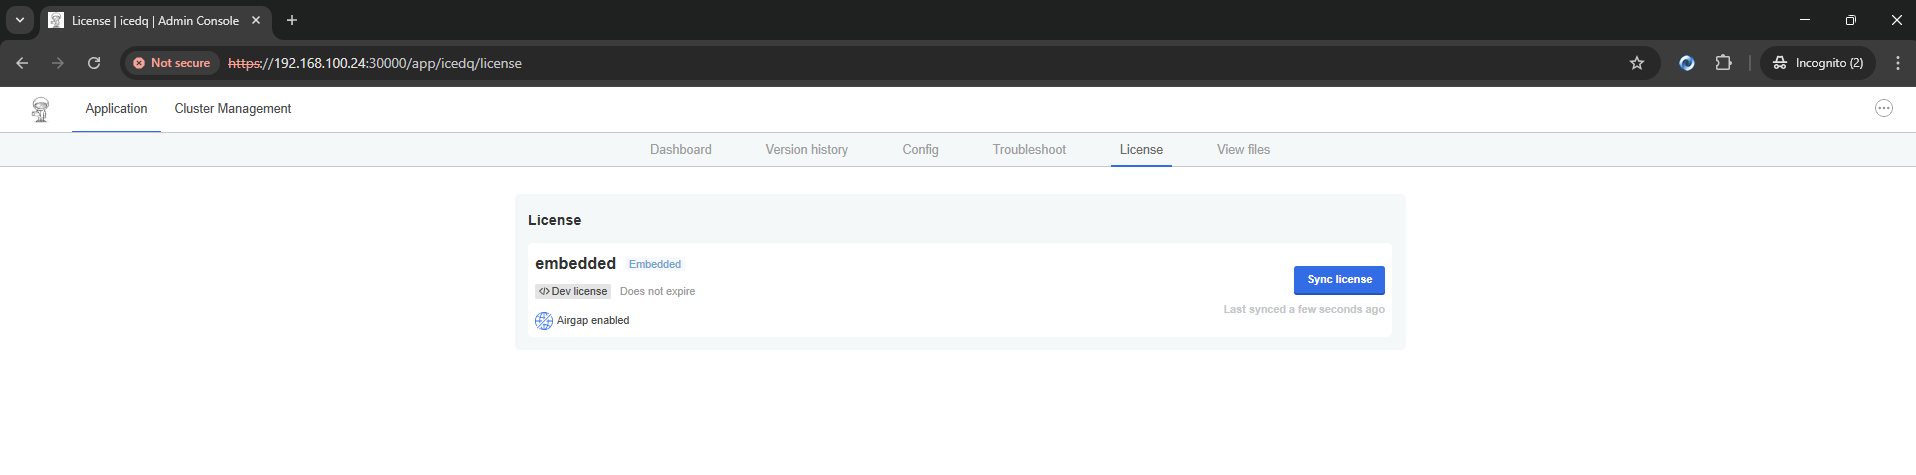
3. Sync the License: Click the Sync License button to fetch the updated license.
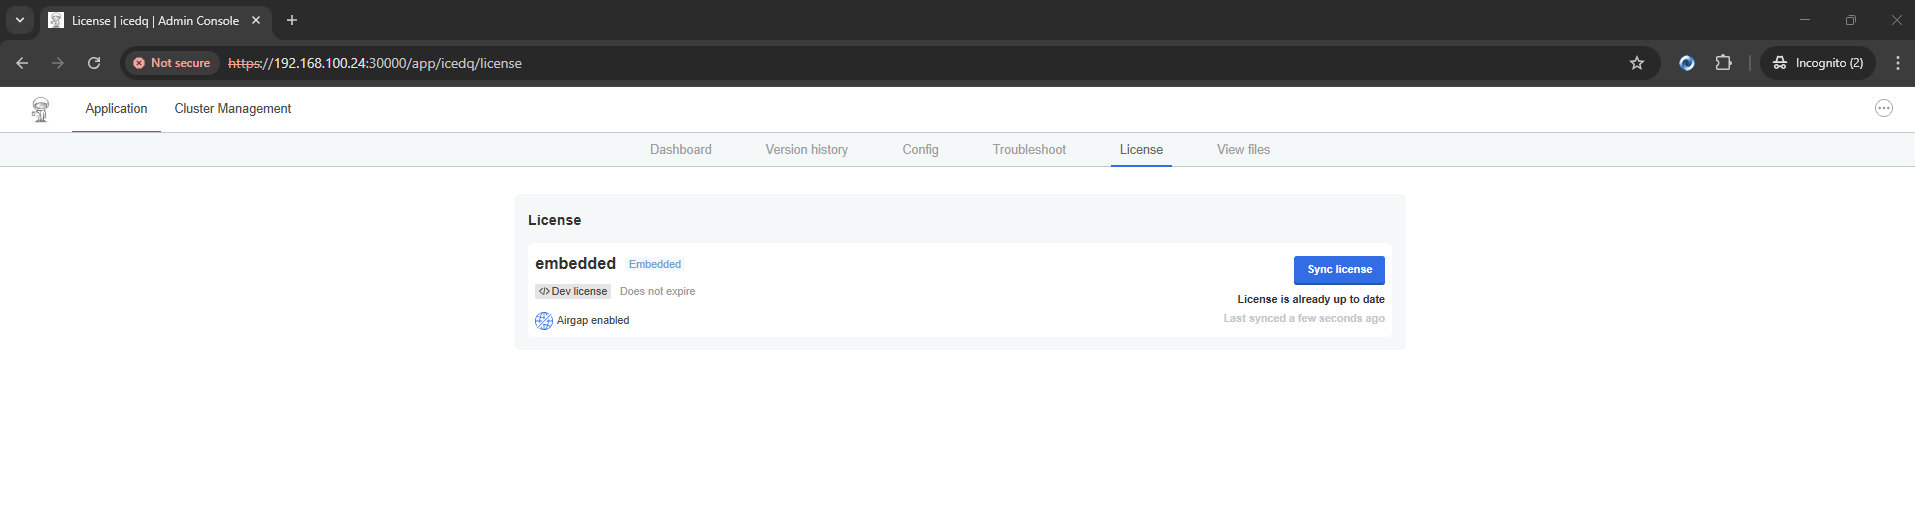
If the license end date has not been updated by iceDQ, a message will appear indicating that there are no changes to sync.
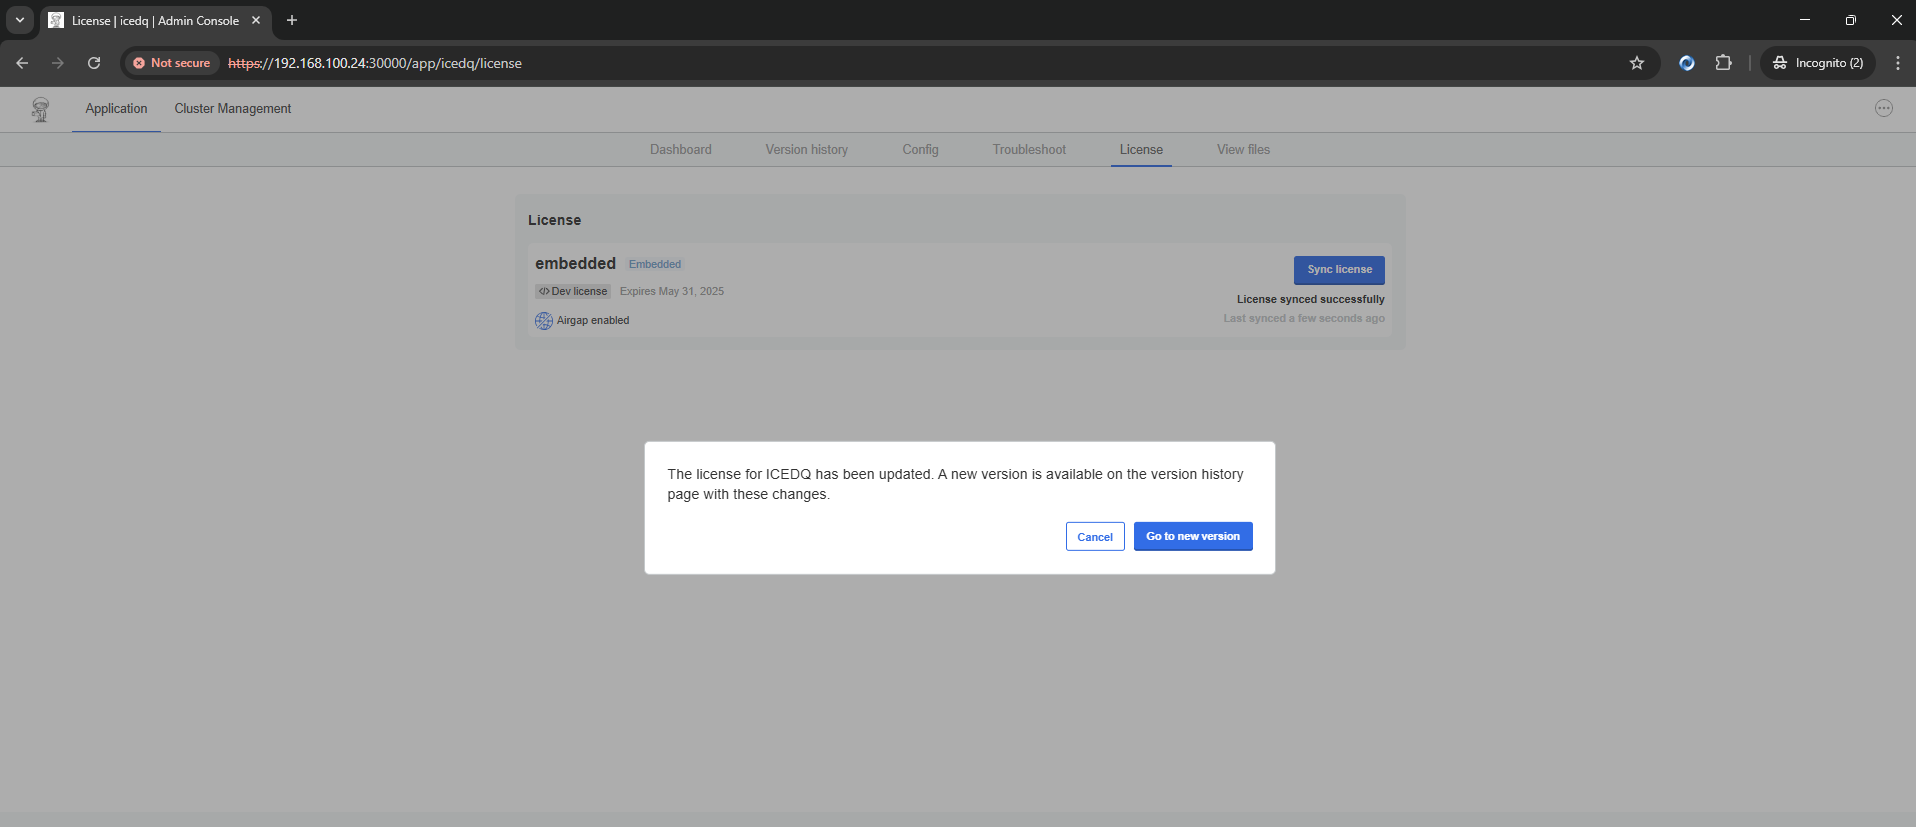
4. Verify License: Your license should now be successfully synced with the new expiration date.
2: Helm Online Activation
Use this method when the application is installed via Helm and outbound access to iceDQ APIs and endpoints is permitted in the customer's environment.
The customer's environment must allow outbound internet access to reach iceDQ's licensing services.
1. Log in to Registry: Authenticate to the iceDQ registry to enable pulling artifacts:
helm registry login registry.icedq.com --username <[email protected]> --password <password>
2. Perform a Dry Run Upgrade: Run a dry run to simulate the upgrade process and validate that configuration and version compatibility are in place:
helm upgrade <release_name> -n <namespace> oci://registry.icedq.com/icedq/stable/icedq --version <App_Version> -f values.yaml --dry-run
After verifying the dry run output, proceed with the actual upgrade to apply the new license:
helm upgrade <release_name> -n <namespace> oci://registry.icedq.com/icedq/stable/icedq --version <App_Version> -f values.yaml
3. Restart iceDQ (Optional): Restart the application pods to ensure the updated configuration is applied. First, scale the deployment down to 0 replicas:
kubectl scale deployment --selector=package=icedq --replicas=0 -n <namespace>
Then scale it back up to 1 replica:
kubectl scale deployment --selector=package=icedq --replicas=1 -n <namespace>
4. Verify License: Confirm that the license update was successful by checking the expiration date:
kubectl get secret replicated -n <namespace> -o jsonpath='{.data.config.yaml}' | base64 --decode | grep -A 2 Expiration
This step confirms that the iceDQ instance is now operating with the updated license information after renewal.
3: KOTS Offline Activation
Use this method when the application is installed via KOTS in an airgap environment where outbound access to iceDQ APIs and endpoints is restricted in the customer's environment.
1. Download the License File (.yaml) for iceDQ's CSM team: After the license end date is updated, download the .yaml license file from the Admin Console and save the file to the desired location.
2. License File Upload: Once the file has been downloaded, perform the following steps to apply the license within the application.
Steps to Update the License:
- Log in to the KOTS admin console.
- Navigate to Application > License.
- Click Upload license and select the .yaml file.
- Alternatively, click Sync License if the system supports limited connectivity.
4: Helm Offline Activation
Use this method when the application is installed via Helm in an airgap environment where outbound access to iceDQ APIs and endpoints is restricted in the customer's environment.
1. Log in to iceDQ Helm Registry: Authenticate to the iceDQ registry from a machine with internet access to download the necessary chart.
helm registry login registry.icedq.com --username <[email protected]> --password <password>
2. Fetch the Helm Chart: Download the Helm chart file corresponding to the required application version.
helm fetch oci://registry.icedq.com/icedq/<channel_name>/icedq --version <app_version>
The downloaded file will be in the format: icedq_app_version.tgz
3. Perform a Dry Run Upgrade: Simulate the upgrade process to validate configuration and ensure readiness.
helm upgrade <release_name> -n <namespace> icedq_app_version.tgz -f values.yaml --dry-run
4. Execute the Actual Upgrade: Once the dry run is verified, perform the actual upgrade to apply the new license.
helm upgrade <release_name> -n <namespace> icedq_app_version.tgz -f values.yaml
5. Restart iceDQ (Optional): To ensure all changes take effect, restart the deployment by scaling it down and back up.
kubectl scale deployment --selector=package=icedq --replicas=0 -n <namespace>
kubectl scale deployment --selector=package=icedq --replicas=1 -n <namespace>
6. Verify License: Confirm that the new license details have been applied.
kubectl get secret replicated -n <namespace> -o jsonpath='{.data.config.yaml}' | base64 --decode | grep -A 2 Expiration
This step confirms that the iceDQ instance is now operating with the updated license information after renewal.